Terri’s Graphic Novel Workshop
Welcome, aspiring graphic novelist! I’ve created a fun little exercise to help you get into the spirit of making your own GN masterpiece.
[Remember, this is just an exercise. Your ultimate goal is to create your own stories and art. In this workshop, you’ll most likely use a published author’s work, so please don’t create an entire graphic novel or comic book from it. However, if you have a story of your own that you’d like to use, then the sky’s the limit!]
Let’s begin! First, select a (preferably non-illustrated) book you absolutely love.
STEP 1:
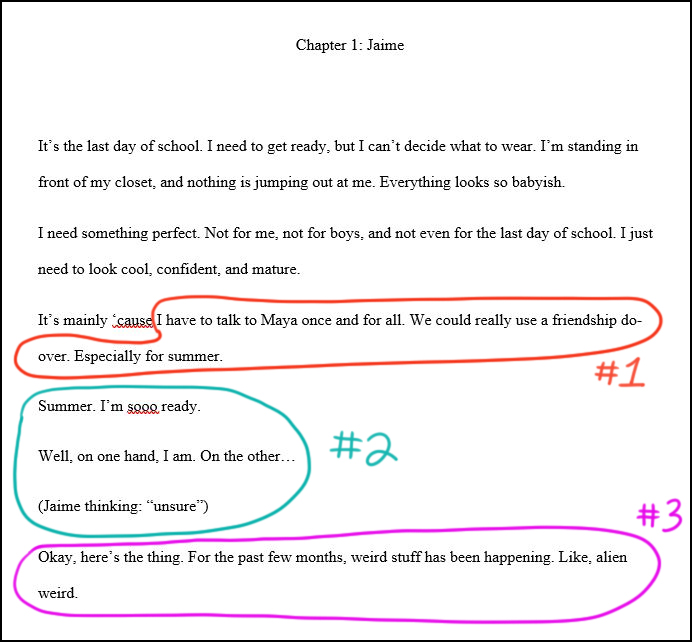
Select a favorite page or scene from your book. It could involve characters talking to each other, an exciting chase scene, or just someone thinking about something. Anything goes. Here’s a page I chose from JUST JAIME (without the art):

STEP 2:
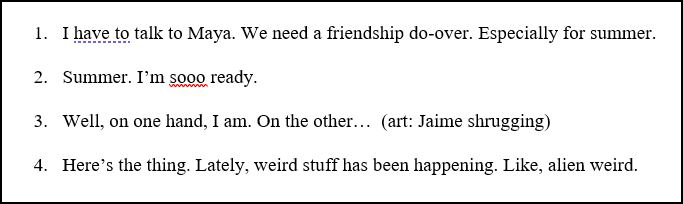
Select sections from your page (maybe 3 or 4) that have the potential to become comic panels. They can be sentences, short paragraphs, dialog, whatever.
Here’s my example:

STEP 3:
Number the sections in order.
STEP 4:
Shorten or rewrite these sections, especially if they’re lengthy. If you think they’re okay as is, you can leave them alone.
Below is my JAIME example. Notice how I divided up #2? That’s because I think it would work better as two shorter comic panels.
STEP 5:
Figure out which parts of each section will be words and which will be art (or either/or).
Don’t draw anything yet. Just indicate art ideas in text (specific or not). Tip: I like to indicate the artwork in parentheses and red type, like this:

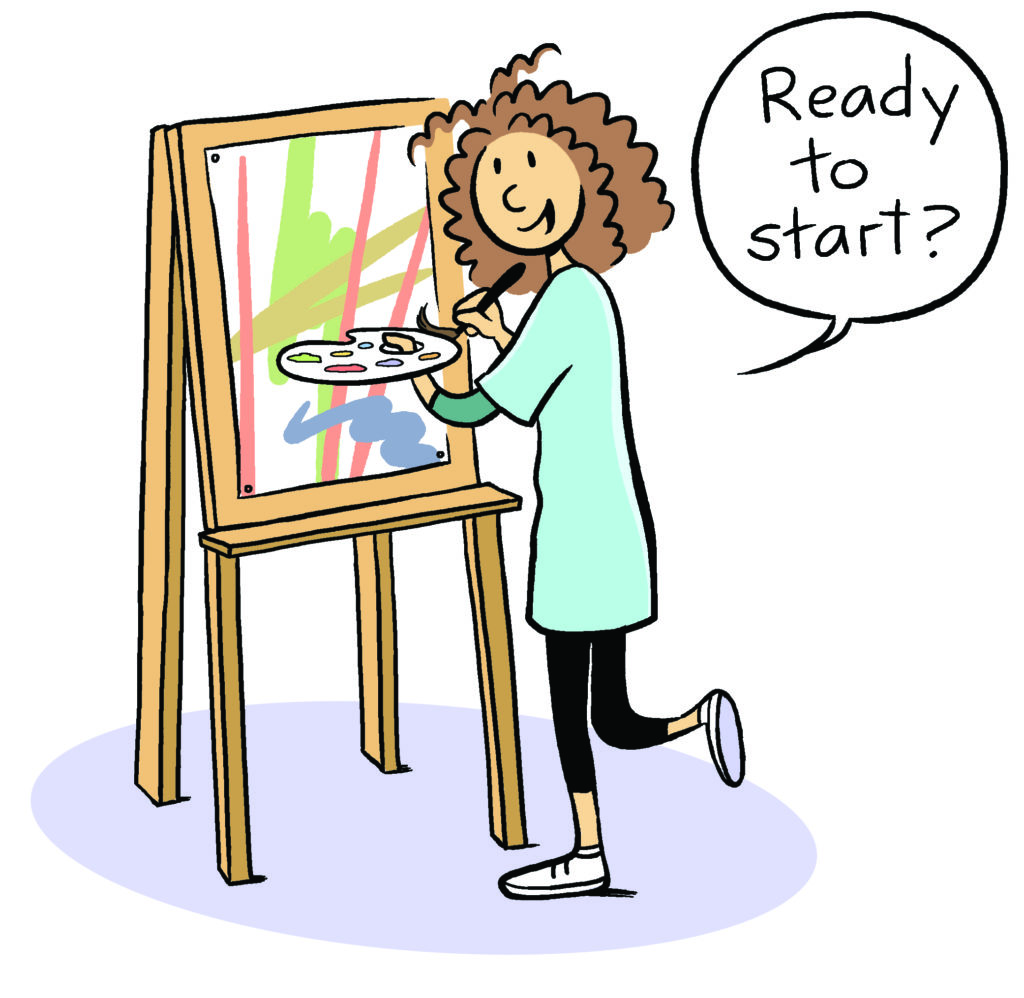
STEP 6:
Here’s where the fun really starts. It’s time to put everything in comic panels!
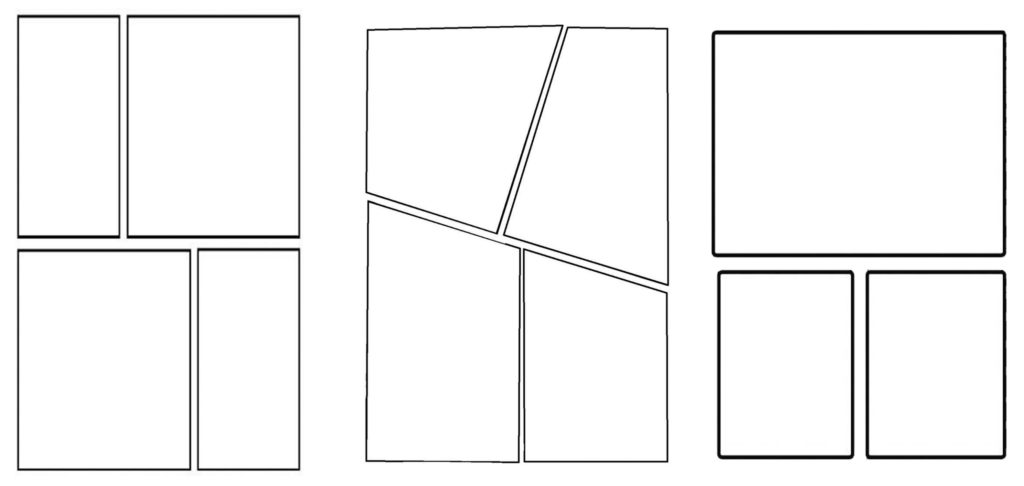
First, draw some panels on a piece of paper (or electronic drawing tablet). Make sure you have the same number of panels as sections from the book. You can draw the panels roughly to start and make changes later. If you don’t know where to begin, here are some layout ideas:
STEP 7:
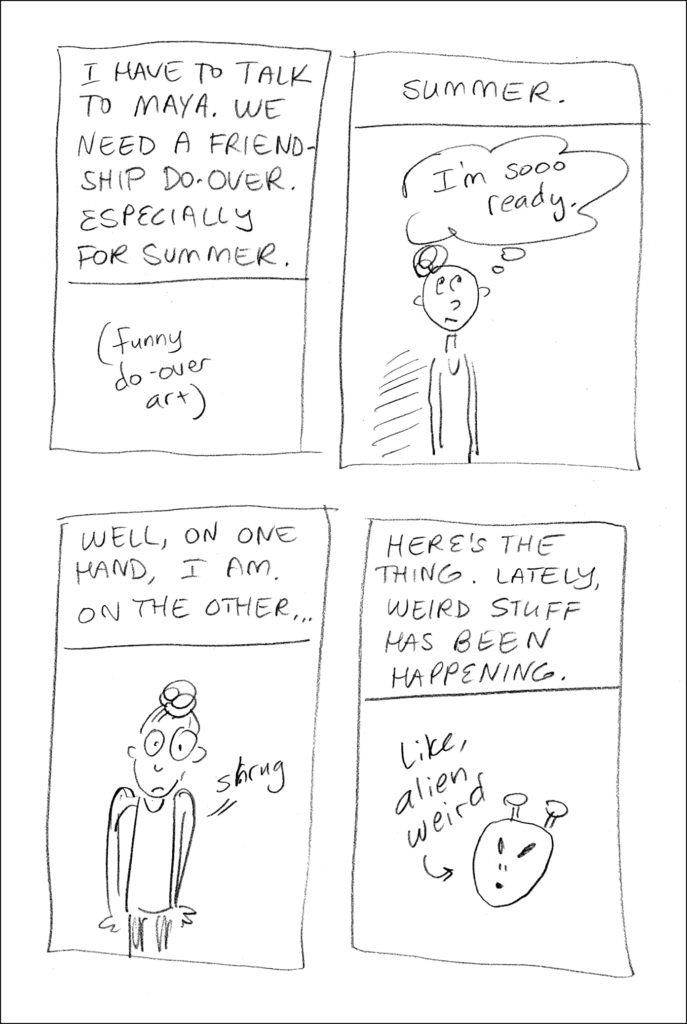
Add your lettering (from your “sections”) to the panels. You can also roughly indicate the art (notes or quick sketches are fine).
Tip: the art can just show the characters talking, or it can illustrate the writing. Sometimes I like to add fun details, like labeling.
Another tip: You can have panels that only show action, without words. Or add an extra panel where characters don’t say anything, but just show emotion or pause for dramatic effect.
Here’s my example from JUST JAIME:
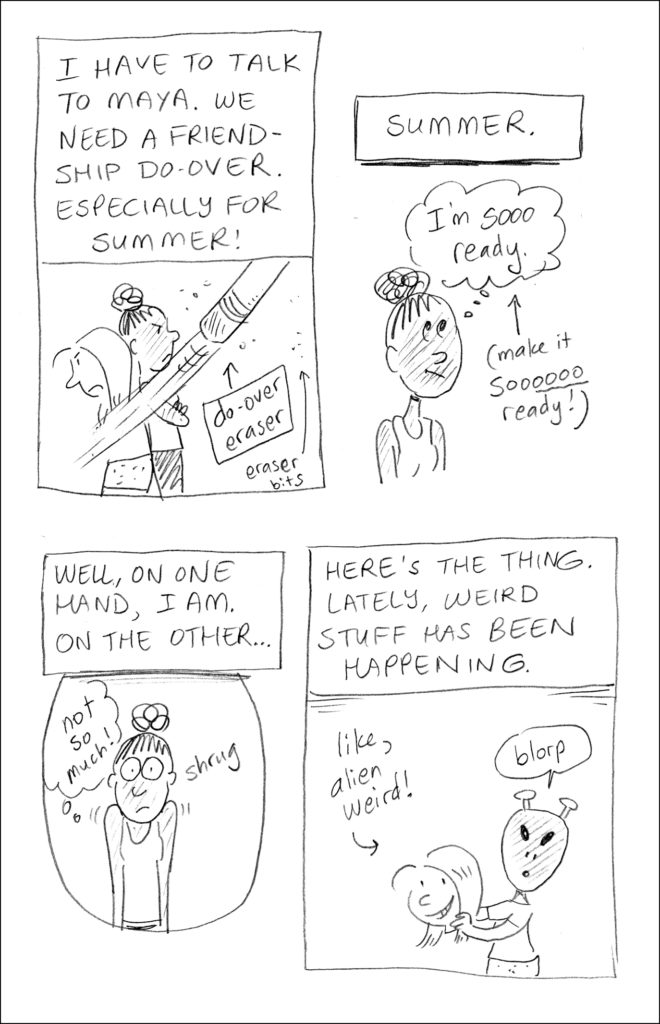
STEP 8:
“Finalize” your comic! Get another piece of paper and do your lettering and add your drawings more neatly. You don’t have to make it perfect (remember, it’s just an exercise!), just more “finished” and detailed than the previous sketch. And you can change it up if you think it’ll be better.
In my example below, you can see I changed quite a few things around while adding more detail:
That’s it! You can do more pages or try it with another book. OR if you’re an aspiring writer, try it with one of your existing stories. It can be helpful to see your work in a new way.
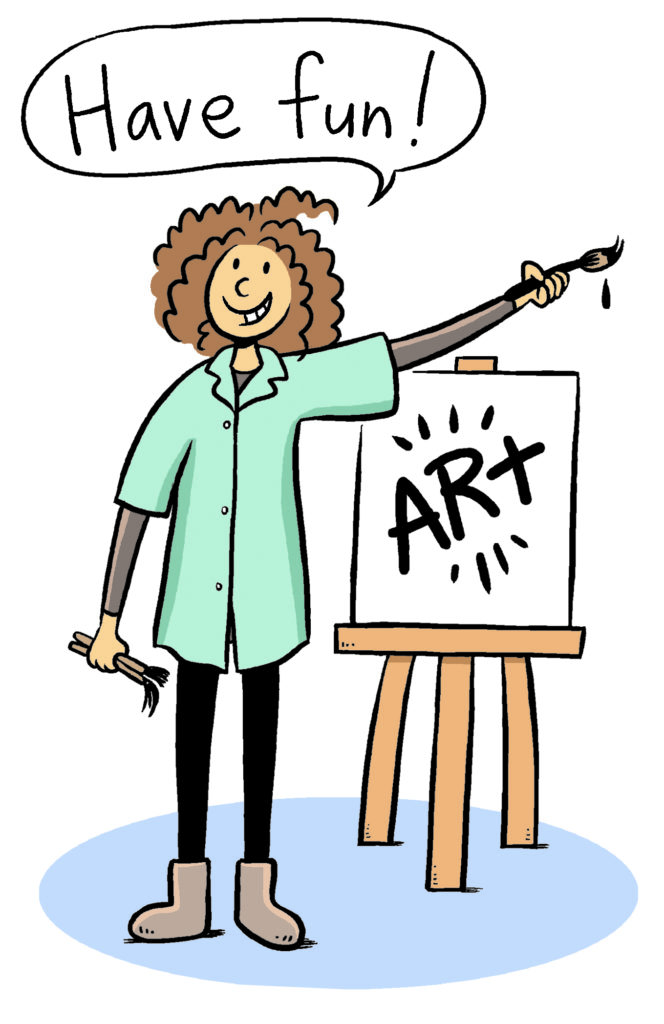
Most importantly…